
Watermelon bread loaf had been very popular for a period of time. To give my girl a surprise for Children's Day, I decided to adapt the tried and tested Wu Bao Chun bread recipes I've been using to make a Watermelon Raisin Loaf.

This bread is so pretty to look at and so good to eat!

This bread is so pretty to look at and so good to eat!

Thumbs up!

198g milk
300g bread flour
24g sugar
1 tsp salt
300g bread flour
24g sugar
1 tsp salt
1 tsp instant yeast
15g unsalted butter
70g raisins
red food coloring
green food coloring
70g raisins
red food coloring
green food coloring

Method:
1. Place all ingredients (milk, bread flour, sugar, salt, yeast) into the pan except butter based on the
sequence listed above or by following your breadmaker manufacturers'
instructions regarding the order of liquid/dry ingredients.
(I'm using Zojirushi breadmaker. I placed all the wet ingredients first,
followed by the dry ingredients. Make a dent at the centre of the flour
and pour the yeast in the dent last, making sure the yeast does not
touch the liquid, sugar and salt.)


2. Make the selection for 'Pasta Dough' setting on your breadmaker.
(For my Zojirushi breadmaker, I chose the 'Cookie/Pasta Dough')

3. Press start and the machine will start kneading the dough. The
machine will beep after a few minutes. Press start to continue kneading.
4. After the machine has finished its course of kneading under 'Pasta Dough' setting, make the selection for 'Dough' setting.

5. Press start and the machine will start kneading the dough after resting for 15 minutes. Add in the butter during this resting stage.

6. Let the breadmaker do the rest.
7. When the bread dough is proofed, the machine will beep to signal the
end of the 'Dough' function. Remove dough from the pan, punch it down
a little and divide into 2 portions.


8. Further divide one of the portion further into half.

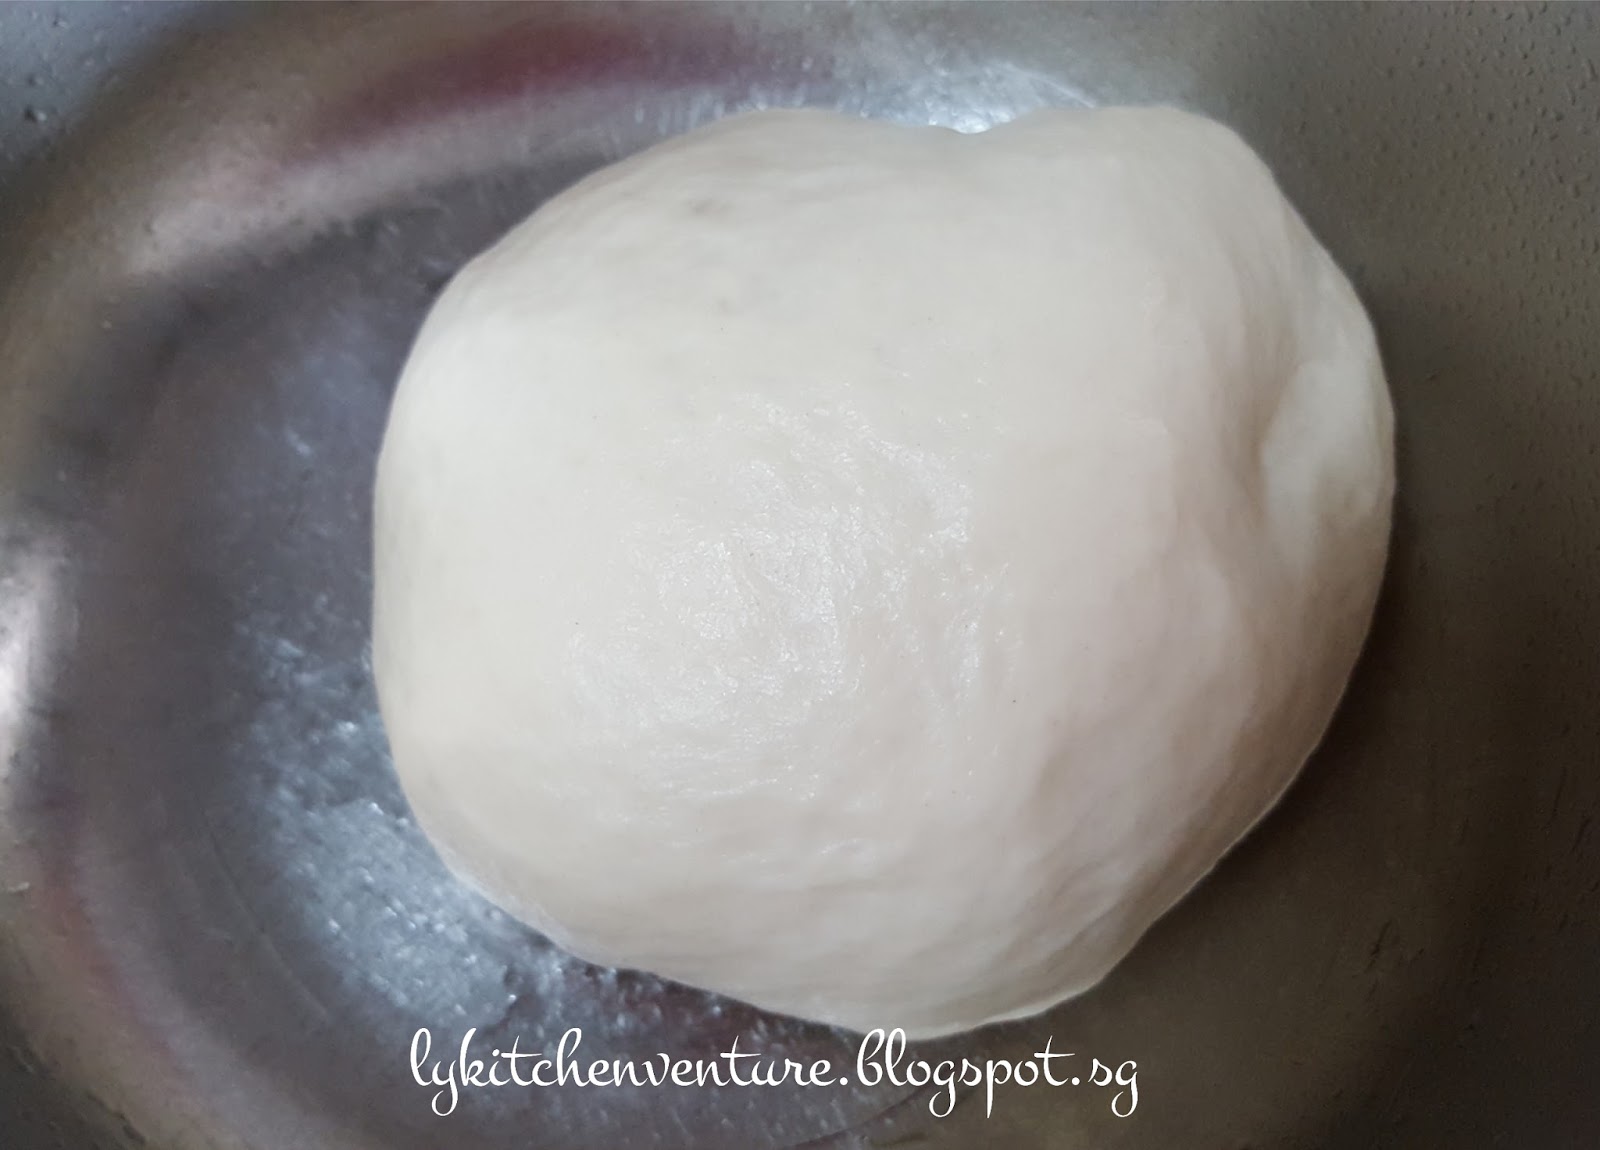
9. Light knead one of the small portion into a ball and place in a lightly greased bowl. Cover with plastic wrap and proof for an hour.

10. To the other small portion, add a few drops of green food coloring and knead till colour is well mixed.

11. Place the green colored dough in a lightly greased bowl. Cover with plastic wrap and proof for an hour.

12. To the halved portion of the original dough, add a few drops of red food coloring and knead till colour is well mixed.

13. Add in the raisins and knead them into the red dough.

14. Place the red raisin dough in a lightly greased bowl. Cover with plastic wrap and proof for an hour. (I put back into the bread machine to proof.)

15.When the bread dough has proofed and has doubled in size, remove from bowl and place on a non-stick mat and give it a punch. For the red dough, shape into a log the length of the pullman tin. (or the bread pan you are using to bake the loaf in)


16. For the plain dough, roll out into a rectangle. (can use a rolling pin. I was lazy and use my hands to flatten.)


17. Place the red dough on the plain dough. Cover the red dough with the rolled out plain dough and pinch the edges to seal.


18. Roll out the green dough into a rectangle and place the dough from step 17 on it. Wrap and pinch the edges to seal.


19. Place the watermelon dough into the pullman tin. Cover with lid or plastic wrap and let it proof for another 45 minutes to an hour. (my pullman tin is San Neng brand SN2052, 196 x 106 x 110mm)

20. Remove lid or plastic wrap and bake in preheated oven at 180C for 30-35 minutes.
21. When the bread is done, remove from the oven and unmould immediately. Let it cool completely on a wire rack before cutting.


hi i would like to know how do you store bread? normally by the next day the bread turns hard.
ReplyDeleteHi Phay,
DeleteI keep the bread in air tight container after they have cooled down. So far can stay soft on day 3.